Setup Prerequisites#
To start with this course, you need the to install necessary programs and setup your system to allow programming. Depending on the platform and operating systems you are using the steps differ but eventually you should be able to use the course material independently of your platform.
Important
If you are working at a CIP pool computer in the Mulliken Center for Theoretical Chemistry we have taken care for you about the setup and you can immediately continue with the next chapter.
Windows 10#
There are multiple ways to enable your Windows system for development. For this course we will present two methods, either running natively (see Install MSYS2) or with a virtualisation of a Linux subsystem (see Install WSL).
Install MSYS2#
The MSYS2 project provides a package manager and makes many common Unix tools available for Windows. It comes with its own bash-like shell which allows to easily follow this course.
Download the msys2-x86_64-YYYYMMDD.exe installer from the MSYS2 webpage
and run the installer. MSYS2 will create three new desktop shortcuts:
MSYS terminal, MinGW64 terminal and MinGW32 terminal (more information
on MSYS2 terminals is available here).
You can either use the MSYS terminal or the MinGW64 terminal for this course we recommend to use the latter.
Open a new terminal and update your installation with
pacman -Syu
You might have to update MSYS2 and pacman first, restart the terminal and run
the above command again to update the installed packages.
If you are using the MinGW64 terminal you can install the required software with
pacman -S git mingw-w64-x86_64-gcc-fortran mingw-w64-x86_64-make mingw-w64-x86_64-fpm vim
If you use the MSYS terminal leave out the mingw-w64-x86_64 prefixes to install
the required software.
After having installed the necessary software, you need to download the
course material.
Unzip the course-material.zip archive to your home directory and
you are setup to start with the next chapter.
Note
Your home directories C:\Users\<name> will be accessible under
/c/Users/<name> in the MSYS2 terminals, look there if you are
searching for your downloaded files.
Tip
The content of the archive might be potentially important as a starting point for your SCF program later.
Install WSL#
With Windows 10 comes the possibility to integrate a Linux Console to your Windows PC via the Windows Subsystem for Linux (WSL). This is in particular useful for you as a Windows user to participate in our Linux based course from home. This guide will show you how to use WSL in order to install a Unix-based console that allows you to complete all the tasks of the course (it is basically a shortened version of the Microsoft documentation for installing WSL).
In order to install WSL, you first have to enable the optional WSL feature. Open
the Windows PowerShell as administrator (for example by typing powershell in
the search field of the taskbar).

Type the following command in PowerShell and press <Enter>:
Enable-WindowsOptionalFeature -Online -FeatureName Microsoft-Windows-Subsystem-Linux
Afterwards please restart your computer if you are asked to.
Install Linux Distribution#
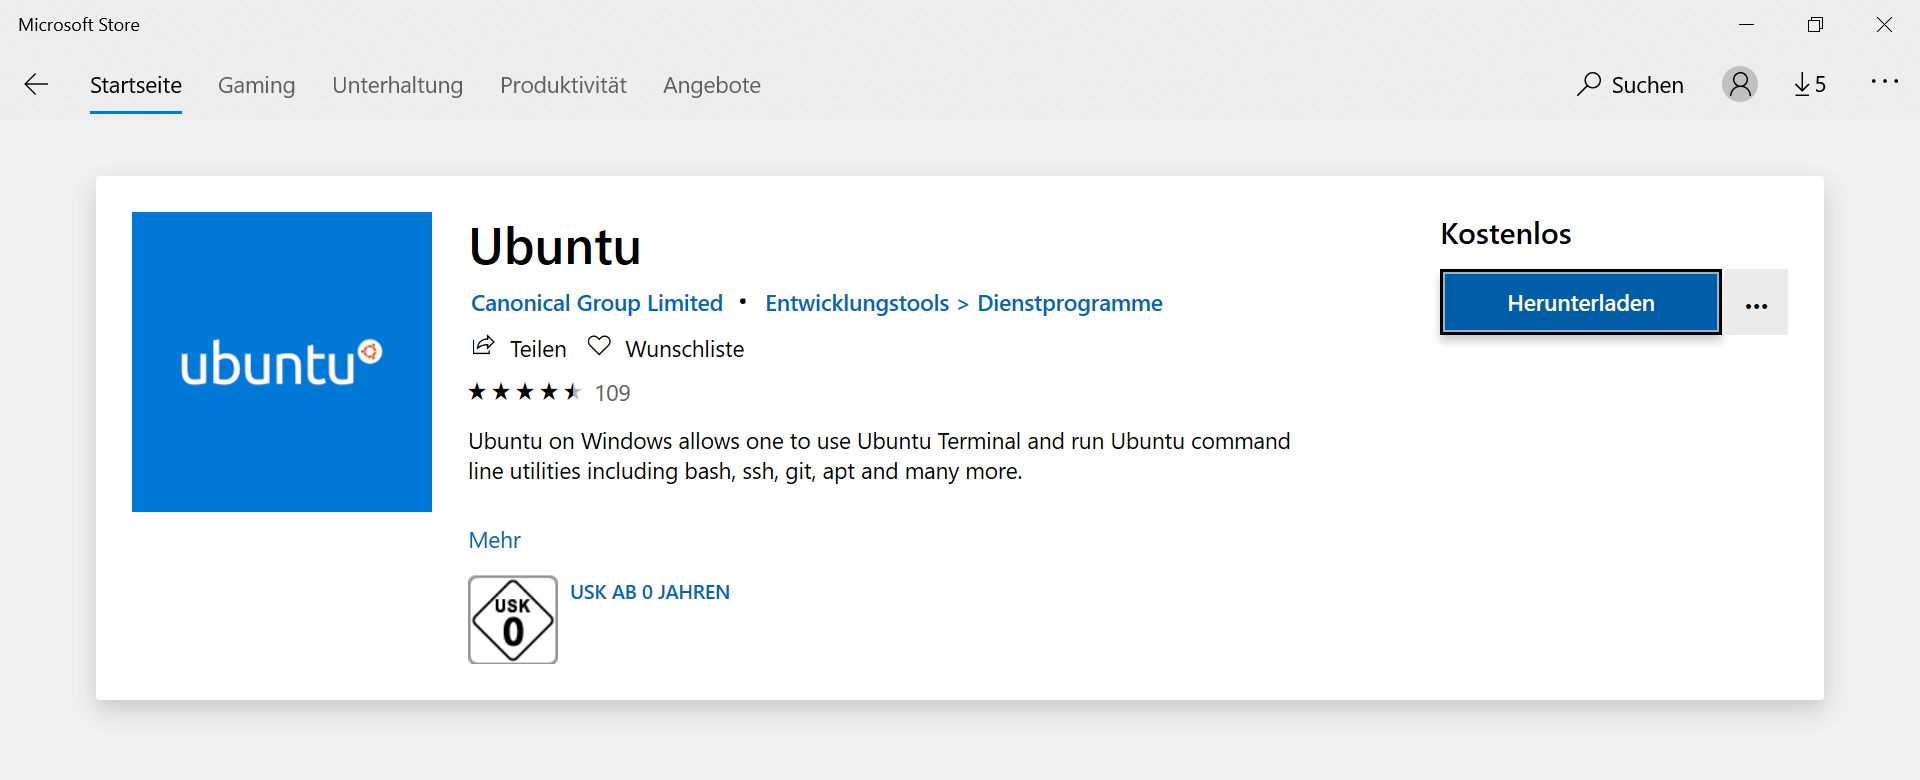
You can now install a Linux distribution of your choice to use with WSL. We recommend
Ubuntu. You can install it from the Microsoft Store. Just type Ubuntu in the
search field and download the application.
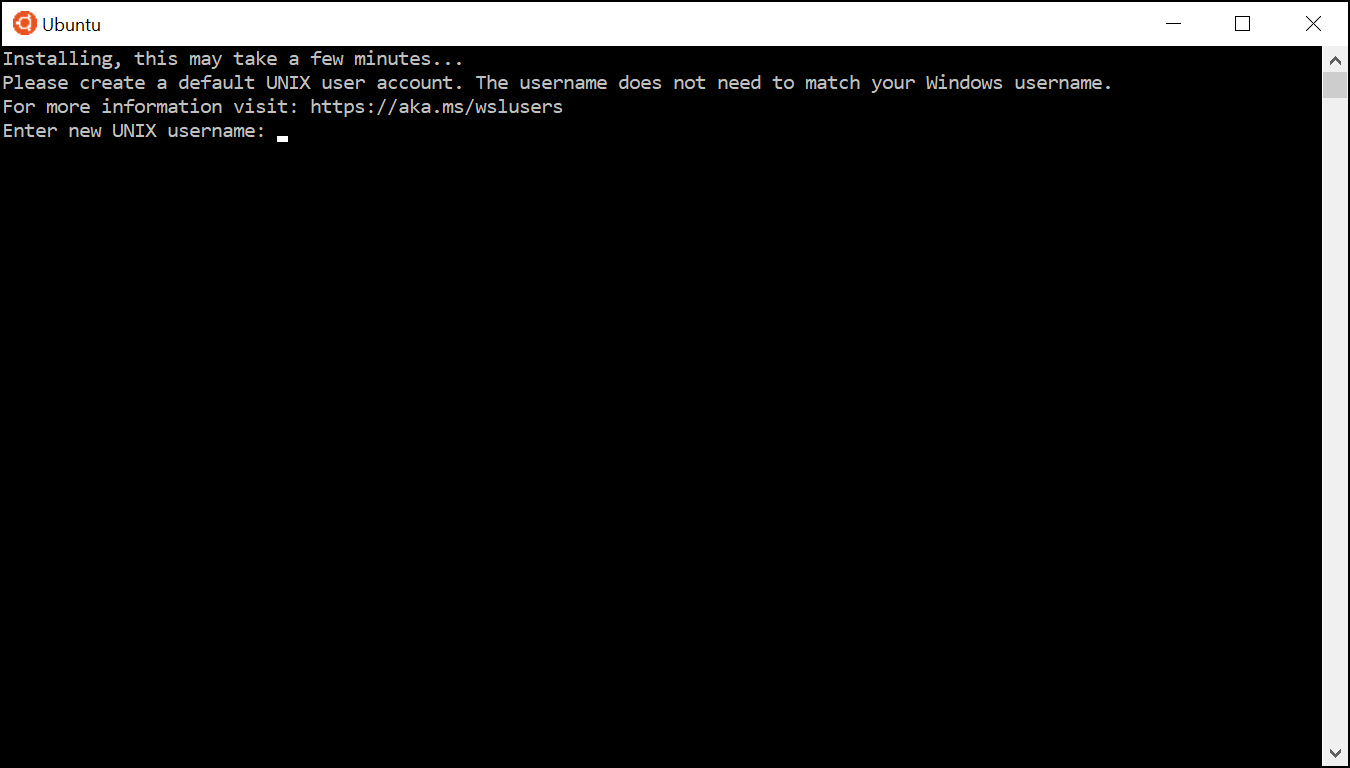
After the installation was successful, you can start the Linux distribution. Ubuntu will open a console and install itself. You will be ask to choose a username and a password. Those are equivalent to the ones you would choose on a real Ubuntu machine.
Your new console will now show linuxusername@hostname:/some/path$, similar to
an Ubuntu console. linuxusername is your chosen username in the Linux distribution
and hostname the name of your computer. The directory in which the window is
opened (/some/path) will probably be your Linux home directory ~ (see
Shell in a nutshell). Note that this home directory can not simply be accessed
via the Windows explorer. But the other way around, you can find your Windows home
directory in /mnt/c/Users/windowsusername, where windowsusername is your
username on your Windows computer. If you want to open new files with some Windows
program, we recommend to create and save all new files in the mentioned directory
or subfolders of it.
You can now also access your Linux console through a Windows console such as CMD.
To open CMD, just type cmd in the search field of the Windows taskbar and press
Enter. By entering the command wsl or bash, you will change to the Linux
console in your current directory which is your Windows home directory.
Note
If you feel advanced in handling the shown terminals of different distributions on your Windows computer, you can try the Windows Terminal. It allows you to manage your WSL terminals and may make your home office more comfortable. However, it is still a preview release and thus the installation might require some effort.
You have now successfully installed a Linux console on your Windows computer and can continue with the Ubuntu part of this documentation (see Ubuntu).
Ubuntu#
Starting with a fresh version of Ubuntu 18.04 we have to install a few programs
first.
You have to install the packages: git, gfortran, make, and vim.
We will assume you are working with apt to install packages, in case you
prefer another package manager, feel free to install the packages listed here
with this one (see Ubuntu install & remove software).
sudo apt install git gfortran make vim
Note
Some packages, especially vim and make might already be installed on
your system, but it does not harm to include them here again.
For the programming course we recommend to use the Fortran package manager (fpm), which can be downloaded from here. or setup from conda-forge as described in Fortran package manager from conda.
After having installed the necessary software, you need to download the
course material.
Unzip the course-material.zip archive to your home directory and
you are setup to start with the next chapter.
Tip
The content of the archive might be potentially important as a starting point for your SCF program later.
Fortran package manager from conda#
You can install the Fortran package manager (fpm) easily from conda-forge,
a large scientific software repository. To do so, download a mambaforge installer
from the conda-forge project.
For Ubuntu Mambaforge-Linux-x86_64.sh is the correct choice.
Run the installer as user (no sudo required) to setup your conda base environment:
sh Mambaforge-Linux-x86_64.sh
Your prompt should now show a (base) label in front, which signals you that you
now have access to the mamba package manager and the conda environment manager.
Note
Those two tools, mamba and conda, are very powerful to create reproducable development and production environments for scientific work. For this course they allow us to easily install software, that would be difficult to install otherwise or software which is not yet available in all Linux distributions. Many of our groups software is available over conda-forge as well.
To add Fortran package manager (fpm) to your base environment run
mamba install fpm
Tip
Alternatively, you can create a separate environment for fpm with
mamba create -n fpm fpm
conda activate fpm
When creating a separate environment, you will always have to activate it after starting a new shell, but it allows you more fine grained control over your installed software.
MacOS#
To setup your MacOS for the course follow this steps
Install Xcode from the the App Store
Open a terminal from /Applications/Utilities/
Install command line tools with
xcode-select --installInstall
gfortraneither by installing it from here or by using Homebrew (see Installing with Homebrew)Install the Fortran package manager from conda (see Fortran package manager from conda) or homebrew (see Installing with Homebrew)
Important
The default shell on MacOS is not bash, but a zsh, but they should
be mostly compatible. In case you want to follow the course with a bash
start a new bash instance after opening your terminal with
exec bash
After having installed the necessary software, you need to download the
course material.
Unzip the course-material.zip archive to your home directory and
you are setup to start with the next chapter.
Note
Some of the keyboard shortcuts in the next chapter are targeted at
Linux OS, you probably have to use the cmd key instead of the
ctrl key.
Installing with Homebrew#
You can manage packages for your Mac using homebrew. To install homebrew download the installation script from the official homebrew channel at GitHub:
curl -fsSL https://raw.githubusercontent.com/Homebrew/install/master/install.sh > install-homebrew.sh
/bin/bash install-homebrew.sh
The script will ask you a few questions to complete the installation process, for more information on the homebrew installation check their documentation.
To install gfortran we will install the gcc formula, where it is
included, with
brew install gcc
Additionally, install the Fortran package manager (fpm) with
brew tap awvwgk/fpm
brew install fpm